After spending time and effort removing hydraulic oil from concrete, the last thing you want is for another spill to undo all your hard work. That’s where sealing concrete comes in.Sealing concrete is the most effective way to protect it from future oil stains, chemical damage, and moisture. Whether your surface is a garage floor, driveway, or an industrial workshop, sealing keeps your concrete looking clean and functioning longer.
Why Sealing Is Crucial After Oil Stain Removal
Concrete is naturally porous, especially when unsealed. Even after a thorough cleanup, the surface remains vulnerable to:
- Hydraulic oil leaks from equipment
- Motor oil drips from vehicles
- Cooking oil spills in outdoor kitchens
Without a protective barrier, even a minor spill can soak in within seconds.
👉 Still struggling to remove stains? You can start here:
How to Remove Set-In Hydraulic Oil Stains from Unsealed Concrete
Best Time to Seal Concrete

Always wait at least 24–48 hours after stain removal before applying any sealer. The surface must be completely dry and oil-free. If the stain has been cleaned using a degreaser, rinse thoroughly and let the concrete cure before sealing.
Types of Concrete Sealers
1. Penetrating Sealers
- Absorb into the concrete and react chemically to form a protective barrier
- Ideal for driveways and exterior concrete
Pros:
✔️ Invisible finish
✔️ Doesn’t peel or flake
✔️ Long-lasting (up to 10 years)
2. Acrylic Sealers
- Form a film on top of the concrete
- Suitable for indoor floors and garages
Pros:
✔️ Gloss or satin finish available
✔️ Easy to reapply every 1–3 years
✔️ Budget-friendly
3. Epoxy or Urethane Coatings
- Provide heavy-duty protection and a glossy finish
- Great for industrial floors
Pros:
✔️ Chemical and abrasion resistant
✔️ Durable and easy to clean
Cons:
❌ Requires professional application
❌ Can be slippery when wet
👉 Need to deal with hydraulic oil in industrial areas? You might find this post useful:
Best Industrial Absorbent Pads & Granules for Hydraulic Fluid Cleanup
How to Seal Concrete: Step-by-Step
1. Clean the Surface Thoroughly
- Remove all traces of oil, dust, or old coatings
- Let the concrete dry completely
2. Choose the Right Sealer
- For outdoor use: Penetrating sealer
- For garages/workshops: Acrylic or epoxy
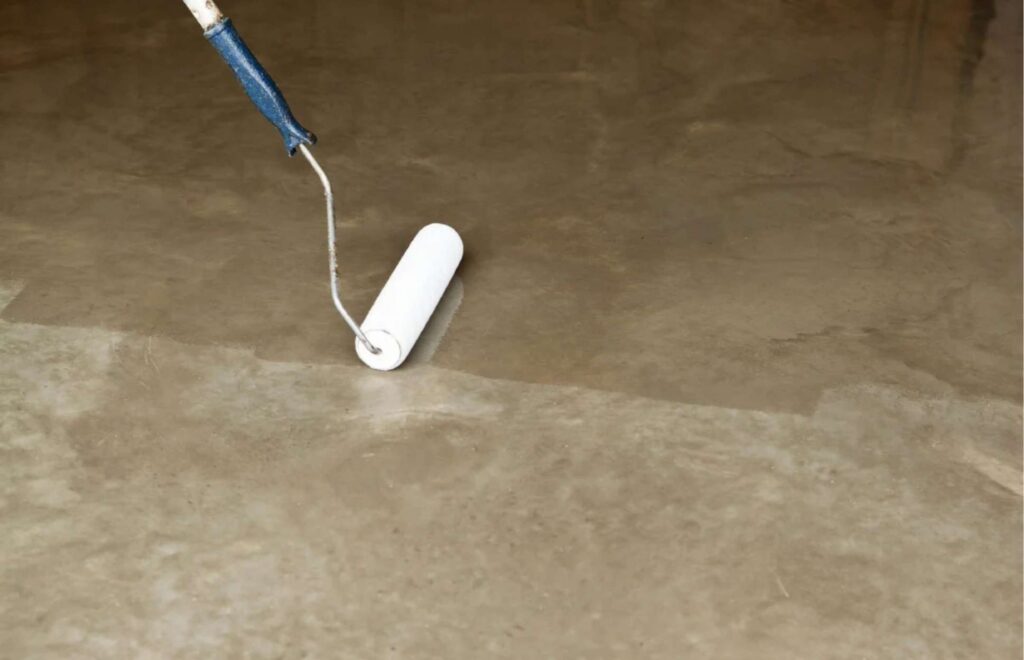
3. Apply the Sealer Evenly
- Use a roller or sprayer based on product instructions
- Apply thin, even coats
- Let each coat cure fully (follow label guidance)
4. Wait Before Heavy Use
- Light foot traffic: 24 hours
- Vehicles or heavy machinery: 48–72 hours
Maintenance Tips for Sealed Concrete
- Reapply sealer as recommended (usually every 2–3 years for acrylics)
- Clean up spills immediately—even on sealed surfaces
- Use absorbents quickly when dealing with oil to minimize residue
👉 Learn more about spill response here:
How to Clean Up a Motor Oil Spill on Concrete
FAQs
Q1: Can I seal over a previously stained area?
Only if the stain has been completely removed. Sealing over oil can trap it inside and cause adhesion failure.
Q2: How do I test if the concrete is ready for sealing?
Sprinkle a few drops of water on the surface. If it beads up, it’s already sealed or oily. If it absorbs, you’re good to go.
Q3: Is sealing required after every oil spill cleanup?
Not every time. But if the surface was unsealed before, this is the best time to protect it going forward.